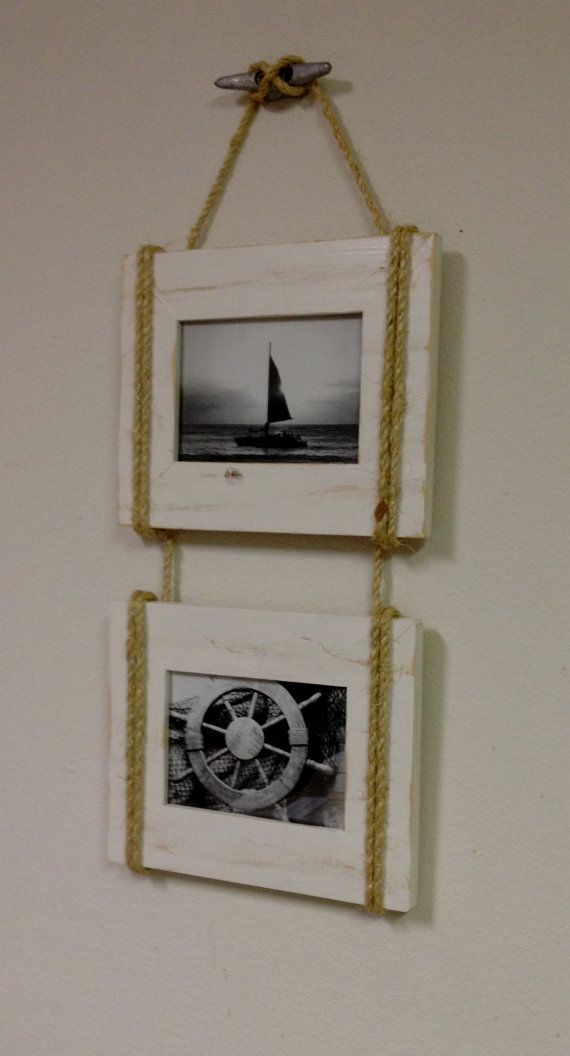
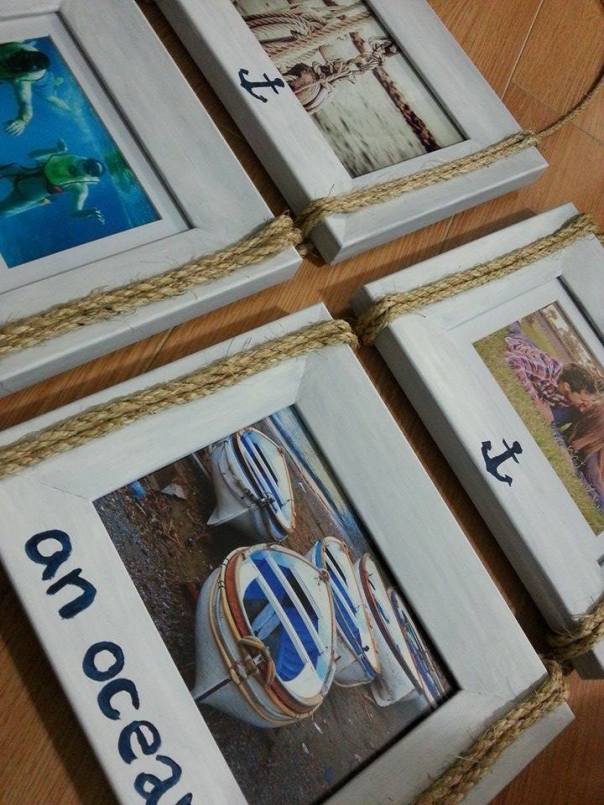
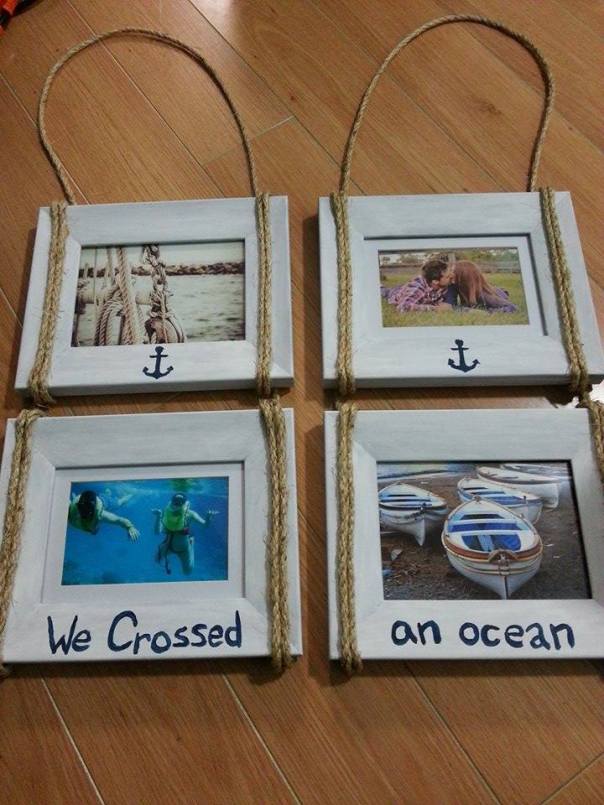
 I literally just finished making this. Even though it’s not 100% perfect I’m so happy with how it turned out, plus it’s nice to have that not-quite-perfect personal touch. Right? That’s my story.
Here’s how you can make one too!
What You Need:
- 4 5×7 wooden frames (fairly wide sides, fairly flat)
- 50′ of 1/4 inch sisal rope
- white acrylic paint
- navy acrylic paint
- paint brushes
- printed photos
- thick paper or sticker paper (for stencil)
- exacto knife
- scissors
- hot glue gun
Steps:
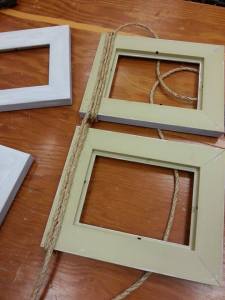
1. Take the glass out of the frame and paint with white acrylic paint. I applied 3 light coats to the face of the frame and 1 coat to the edges. If you want a uniform look use spray paint but I like the beachy, streaky, wood-type feel. Let it dry (I left mine for a day).
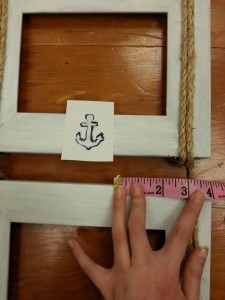
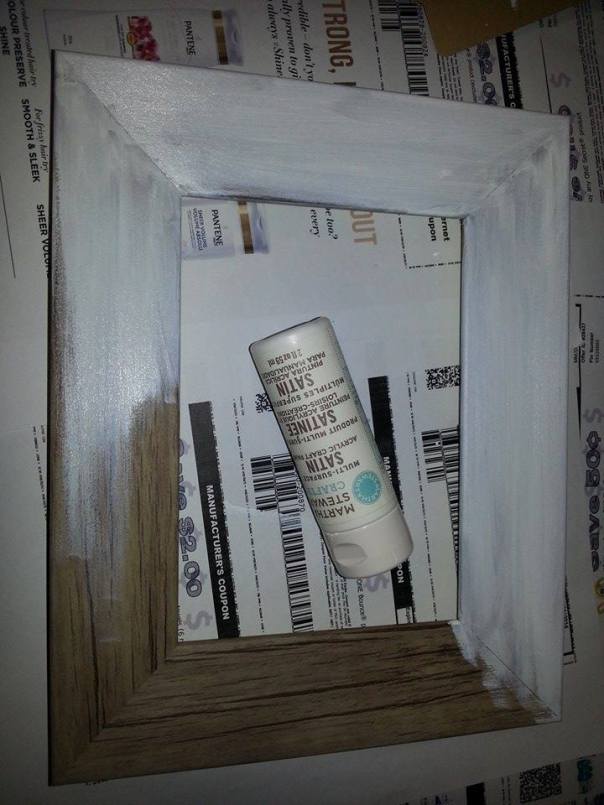 2. Once dry, lay them out and measure your rope. I used 28 inches for my hanging bit as I plan to tie it around a boat anchor like this post I saw on pinterest. You’ll want another 2 meters and 23 inches on either side (this will give you a bit extra but better to cut it than fall short). If you’d like to loop it around the front 3 times leave another 15 inches or so on each side.
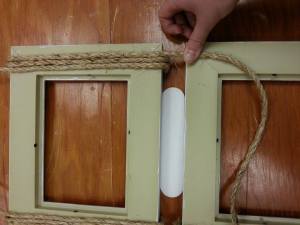
3. I didn’t cut mine until near the end. I simply measured 2 meters, 23 inches then glued that to the top of the BACK of the frame and worked my way down. My method was to put a bead of glue and hold it down, then glue a line all the way across and hold that bit down, so I wasn’t fussing too much with the rope. When you wrap it around the top/bottom you’ll want to pull it nice and tight though it may not sit totally flush (this rope is not bendy).
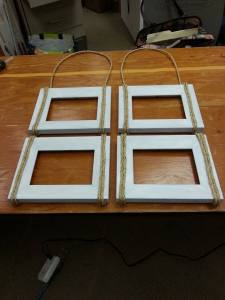
3. When you’ve finished gluing and wrapping the rope so that your third coil runs along the back, line your next frame up under it. I used about an inch of space between my frames. Continue the third coil down to the next frame and glue it at the top. Continue this method until you have a third line running down the back of your frame. Cut the rope halfway down, glue it down and apply a generous amount of hot glue to the end so it won’t fray.
4. Now measure out 28 inches at the top and glue the 28″ mark down on the back of the other side of the frame. Then repeat the above steps. You may want to make a cut so you’re not pulling the whole roll through your frames to loop it.
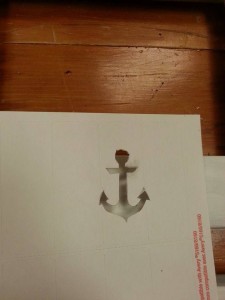
5. Stencil or freehand something cute on your frame. For my anchors I printed off one I found on google (had to resize it a few times) put sticker paper on top and traced it, then cut it out with an exacto knife. Measure it so that it is center. Then paint! Let it dry.
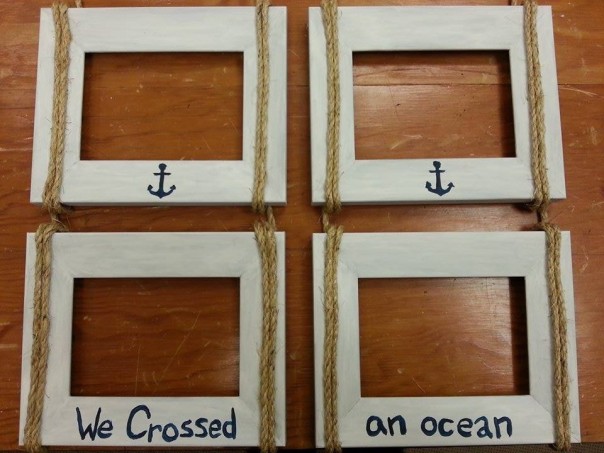 6. If your frames were meant for a desk, pop the props off of the back with a knife. Then put the glass back in along with some awesome photos. I found two cool nautical ones on google; the ones of my man and I that I’d like to use (us dressed nautical and by the ocean) are on my old laptop so I just used these two for now.
I’m still waiting on my distressed boat cleat but you can buy one here for $5.12 plus shipping: Distressed Boat Cleat Decoration
Runner up Quotes:
- Only Fish For Me
- Sail Away With Me
- You Are My Anchor
Can’t wait to show my honey what I made for our room, and to hang it up. I hope he likes it! What was the last DIY you did? How did it turn out? Leave some words! xx
